Cutting & Drape
On the Bias
Nothing hits quite like slipping into a piece you sewed yourself and having it skim your body exactly right. That fluid, second-skin feeling isn't accidental. It's the artistry of the bias cut.
Made iconic in the 1930s by Madeleine Vionnet, this technique completely reimagined how fabric moves. By cutting on a 45-degree diagonal rather than a straight grain, you unlock the fabric's natural, liquid-like stretch. No stiff tailoring or restrictive seams required, just pure, effortless drape that hugs and moves with you, never against you. The silhouette that results looks almost ethereal, soft and fluid in a way no straight-grain cut could manage.
At Maison Maron, I capture that exact vintage nostalgia in my sewing patterns. With pieces like the Eva and Viola slip dresses, you get to bring that timeless, elegant drape to life with your own hands.
Finding the True Bias
The true bias runs at a precise 45° angle to the selvage — the diagonal where fabric begins to soften and reveal its natural stretch.
While fabric can be cut along any diagonal, the true bias refers specifically to this 45-degree line to the straight grain. It’s where the structure of the weave relaxes, allowing the fabric to move more freely, drape more softly, and follow the body in a more fluid way.
*Selvage — the industrially finished edge of the fabric.
Fabrics That Love the Bias
On the bias, fabric choice is everything: it must have a graceful drape and enough movement to flow naturally along the contours of the body without clinging too tightly or turning rigid.
Look for lightweight, fluid wovens — fabric that glides and softly collapses into folds when gathered:
- Silk Crêpe de Chine / Flat Crêpe / Satin-Back Crêpe — the gold standard for bias
- Silk Satin / Rayon-Viscose Satin — beautiful drape with a subtle sheen
- Rayon / Viscose Blends — fluid movement, more affordable, forgiving to sew
- Charmeuse — liquid drape, trickier hand, worth knowing before you commit a full yardage
- Chiffon — light and airy, best for linings or overlays rather than a full bias garment
- Georgette — similar drape to chiffon with a bit more texture and grip
- Lightweight linen — a looser, more textured option, good for a softer bias drape
Avoid anything with real body or structure — stiff cottons, heavier linens, anything that holds a crease. It'll survive the bias, technically, but you'll lose the whole reason you cut it that way.
New to this? Start with a stable rayon or mid-weight crêpe. Save the charmeuse for round two.
Making the Cut
This is where the magic gets practical. Cutting on the bias isn't harder than cutting on grain — it's just less forgiving of shortcuts. Off grain, the fabric wants to shift, stretch and slither out of line, so your whole job is to keep things calm and flat: a clear table, sharp tools, and no rushing.
Sewing Bias-Cut Garments
On the bias, the neckline is the first place a garment will show its hand — those soft, diagonal edges love to stretch and gape the moment they’re handled. So before a single seam goes in, I steady mine with a fine strip of interfacing tape. It holds the neckline’s shape through sewing and through years of wear, and lends the finished piece that quiet, considered edge that reads as couture rather than homemade.
Work each bodice piece the same way, taking your time — this small step is what keeps a bias neckline sitting exactly where you meant it to.
Layer pattern and fabric wrong sides up, aligning the neckline to keep its true shape fixed. Position interfacing tape along the edge and fuse with an iron.
Tools used
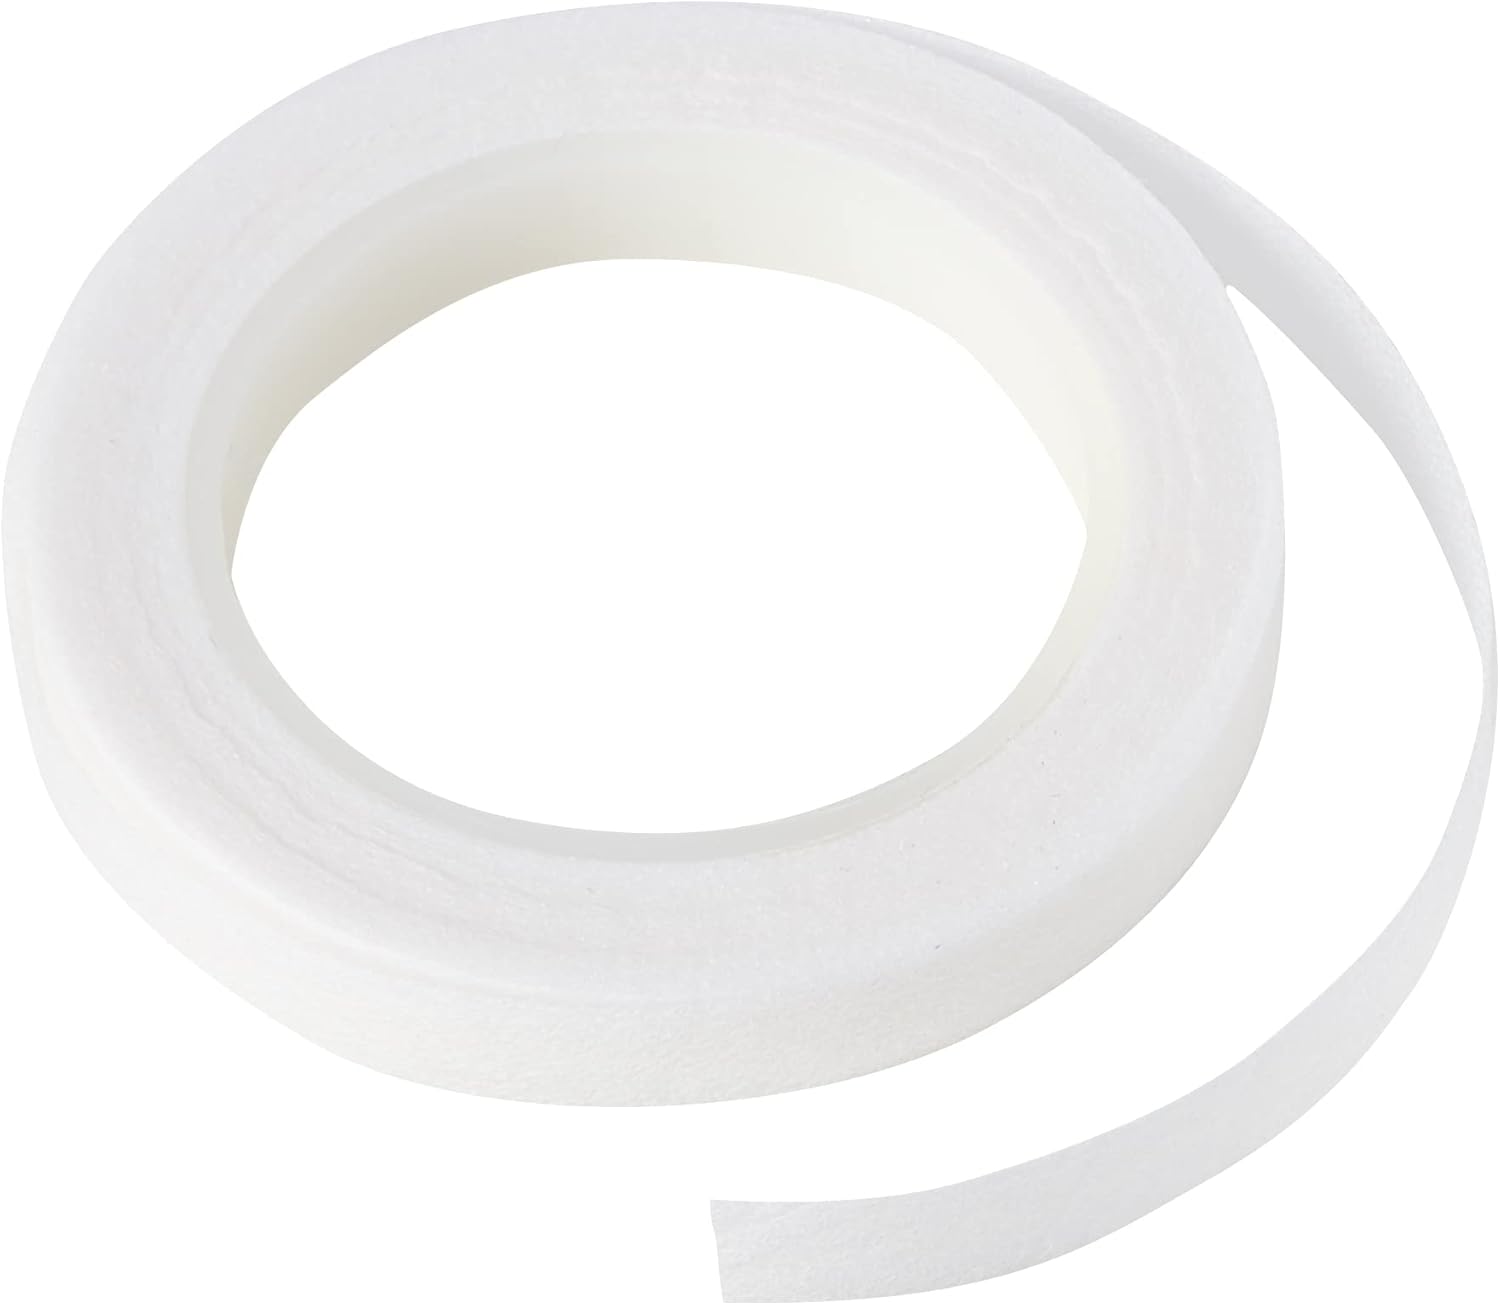
This is an affiliate link — I may earn a small commission at no extra cost to you. Thank you for supporting Maison Maron!
The edges that need steadying — both necklines are stabilised the same way before the bodice pieces are joined.
Finishing & Hemming
Here’s the step most people are tempted to skip — and the one that makes all the difference. Before you hem, hang your garment up and leave it for a full 24 hours. On the bias, the fabric keeps settling under its own weight, the diagonal grain drawing slowly downward. Hem too soon and you’ll watch your careful, level line sag and wander within a day of wearing it.
Once it has hung overnight, slip it on, mark the hem where it truly falls, and only then trim and finish. A narrow rolled or hand-stitched hem sits most gracefully on the bias — it keeps the edge light and lets the fabric go on moving the way it wants to.
Care & Longevity
A bias-cut piece rewards a gentle hand. Hand-wash in cool water with a mild detergent, or use a delicate machine cycle inside a mesh bag — never wring or twist, which pulls the grain out of true. Ease the water out and reshape the piece while it’s still damp.
Dry it flat rather than on a hanger, where the weight of wet fabric would drag the bias out of shape. Press on low heat with a pressing cloth, and store folded rather than hung for long stretches. Treated kindly, a bias garment keeps its liquid drape for years.
Patterns that use this


Tools used
This is an affiliate link — I may earn a small commission at no extra cost to you. Thank you for supporting Maison Maron!